 Save
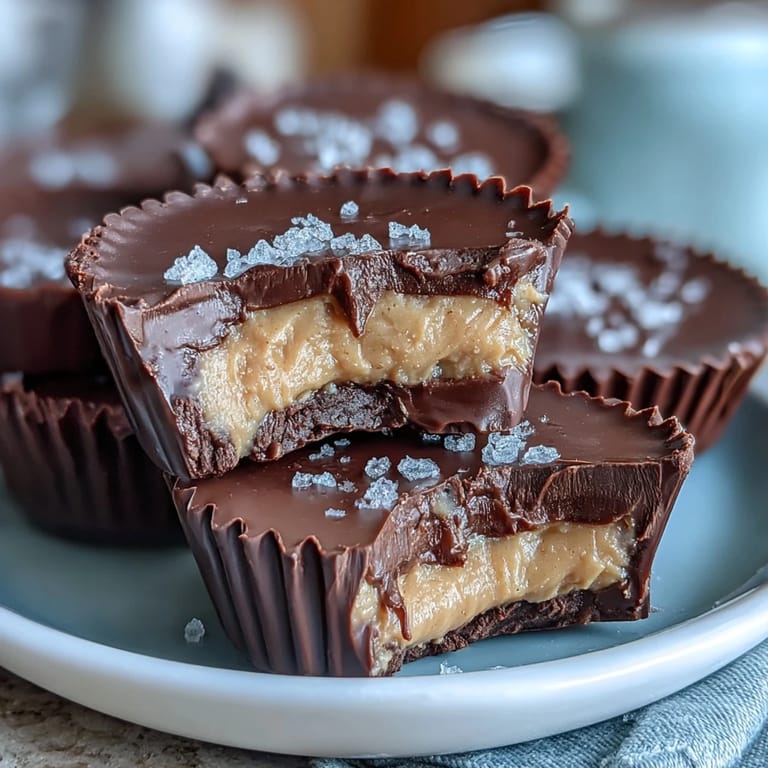
Save My kitchen smelled like a candy factory the afternoon I decided to stop buying those mass-produced peanut butter cups and make my own. There's something oddly satisfying about peeling away a paper liner to reveal a homemade chocolate cup, still cool and glossy from the fridge, knowing exactly what went into it. That first bite—the snap of dark chocolate giving way to creamy, salted peanut butter—made me wonder why I'd waited so long to try this.
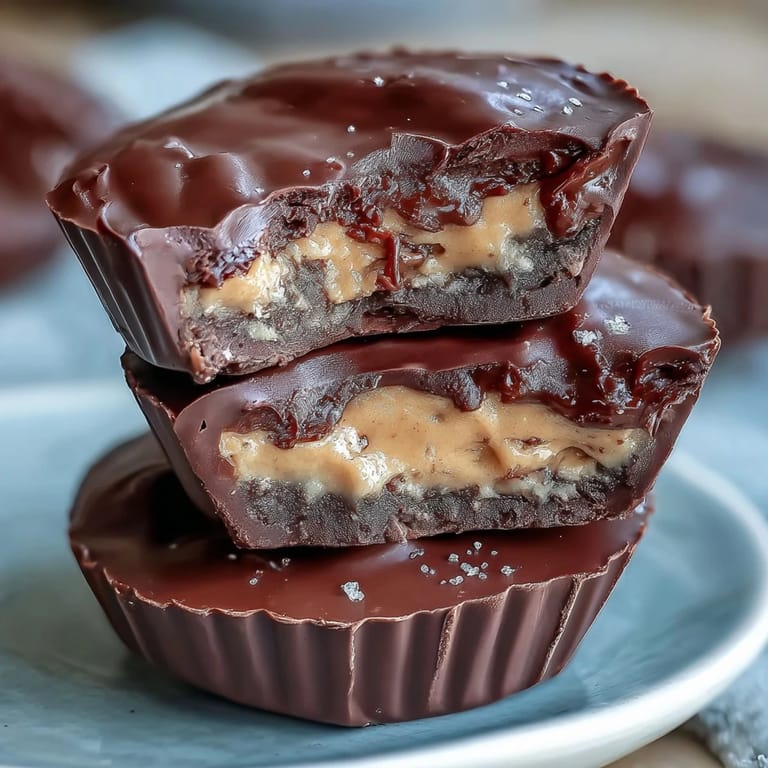
I made these one winter evening when a friend texted asking what I was up to, and by the time she arrived an hour later, the apartment was warm and the cups were perfectly set. We sat at the kitchen counter with hot coffee, breaking them in half to admire the layers inside, and she immediately asked for the recipe. Watching someone's face light up over something you made in your own kitchen is a feeling that never gets old.
Ingredients
- Dark chocolate, 250g (70% cocoa or higher), chopped: Higher cocoa percentages keep these from tasting cloying, and chopping it finely helps it melt evenly without seizing.
- Coconut oil, 1 tbsp (optional): A small amount makes the chocolate smoother and easier to work with, though it's truly optional if you prefer pure chocolate flavor.
- Creamy peanut butter, 120g (unsweetened, unsalted preferred): Avoid the natural separation kind here—regular creamy peanut butter gives you that signature Reese's-like texture.
- Unsalted butter, 2 tbsp, softened: This adds richness to the filling and helps bind everything together smoothly.
- Powdered sugar, 60g (½ cup), sifted: Sifting prevents lumps and gives you that velvety filling texture without any grittiness.
- Fine sea salt, ¼ tsp: This tiny amount amplifies the peanut butter flavor in a way that makes people pause mid-chew trying to figure out what makes them so good.
- Vanilla extract, ½ tsp: Just enough to round out the filling without making it taste like a baking project.
Tired of Takeout? 🥡
Get 10 meals you can make faster than delivery arrives. Seriously.
One email. No spam. Unsubscribe anytime.
Instructions
- Set up your molds:
- Line your mini muffin tin with paper liners, pressing them gently into the corners so they stay put when you add the chocolate.
- Melt the chocolate gently:
- Use a double boiler or microwave in 20-second bursts, stirring between each one, until it's completely smooth with no lumps. The slow approach prevents the chocolate from seizing.
- Create the chocolate base:
- Spoon about a teaspoon of melted chocolate into each liner, then tilt the tin so the chocolate coats the bottom and climbs halfway up the sides. This creates the crucial chocolate shell.
- Chill the base layer:
- Pop the tin into the freezer for 10 minutes—this hardens the chocolate so your filling doesn't sink through.
- Make the peanut butter filling:
- Combine softened butter and peanut butter in a bowl, then mix in the sifted powdered sugar, salt, and vanilla extract until you have a smooth, thick paste that holds its shape.
- Fill the cups:
- Roll about a teaspoon of filling into a ball, flatten it slightly with your fingers, and nestle it onto each chocolate base, pressing gently so it creates an even layer with a small chocolate border showing around the edge.
- Seal with chocolate:
- Spoon the remaining melted chocolate over each filled cup, making sure it covers the peanut butter layer completely and reaches the edges. Give the tin a gentle tap on the counter to smooth the tops.
- Set them fully:
- Refrigerate for at least 30 minutes until the chocolate is completely firm and snaps when you bite it.
- Remove and store:
- Peel away the paper liners and keep the cups in an airtight container in the fridge, where they'll stay fresh for up to a week.
 Save
Save 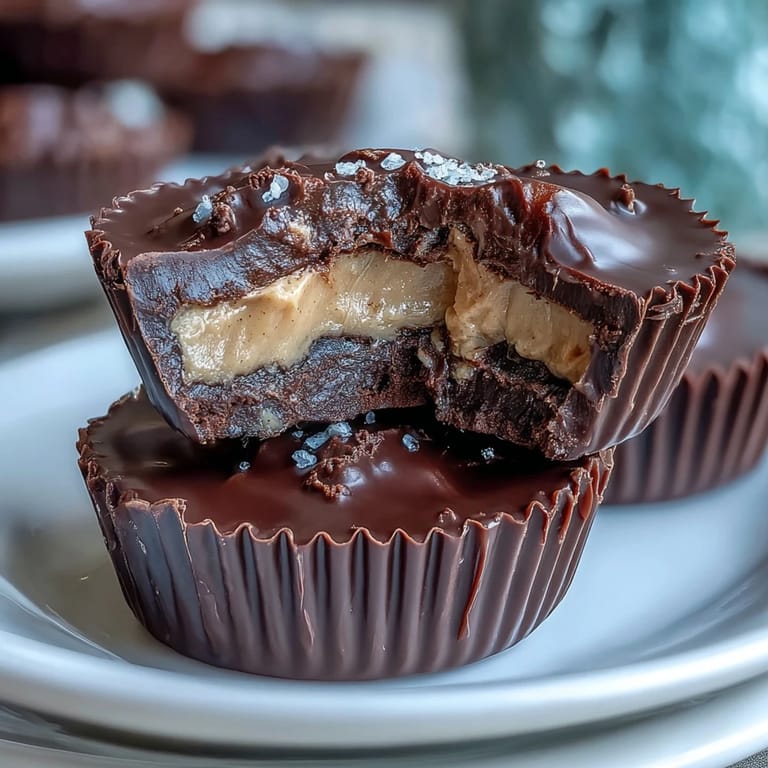 Save
Save My nephew once unwrapped one of these at his birthday party and declared it tasted like the fancy candy store version but somehow better. That moment—watching a kid genuinely surprised by homemade food—reminded me that the best recipes are the ones that feel like a small act of care on a plate.
Why Dark Chocolate Makes the Difference
I used to make these with milk chocolate and they were fine, but switching to dark chocolate changed everything. The slight bitterness balances the sweetness of the filling perfectly, so each bite feels sophisticated rather than cloying. It's the kind of small choice that separates a good homemade treat from one that makes people genuinely wonder why you don't sell these.
The Salt Secret
That quarter teaspoon of sea salt isn't there to make them taste salty—it's there to make the peanut butter taste like the best version of itself. It's the same principle that makes salted caramel taste better than plain caramel, and it's what makes people reach for a second cup instead of putting the container back.
Storage and Serving Ideas
These live happily in the fridge for a week, and they taste even better when they've been cold for a couple of days as the flavors have time to settle. I've learned that pulling them out five minutes before eating them makes the chocolate slightly less rigid, making each bite more tender. They're perfect with morning coffee, as an afternoon pick-me-up, or honestly just as an excuse to open the fridge and enjoy something small that took real effort to make.
- Try dusting them with flaky sea salt on top before the final chill for a sophisticated finishing touch.
- Gift them in a small box lined with parchment—they're impressive enough to rival any bakery offering.
- Double or triple the batch and freeze extras in a container for up to three months.
 Save
Save  Save
Save There's real joy in making something that tastes like a small luxury, and these homemade cups deliver exactly that. Once you've made them once, you'll understand why they're worth the minimal effort, and you'll probably find yourself making them again soon.
Recipe FAQs
- → What type of chocolate works best?
Use dark chocolate with 70% cocoa or higher for a rich, bittersweet flavor that complements the peanut butter.
- → Can I substitute peanut butter with another nut butter?
Yes, almond or cashew butter can be used for a different taste and texture while maintaining the creamy filling.
- → How do I ensure the chocolate sets properly?
Chill the chocolate layers in the freezer or refrigerator as directed to allow firm, clean edges and prevent melting.
- → Is there an option for a vegan version?
Use dairy-free butter and a vegan dark chocolate to make these cups suitable for a vegan diet.
- → What is the best way to store these cups?
Keep them in an airtight container in the refrigerator for up to one week to maintain freshness and texture.