 Save
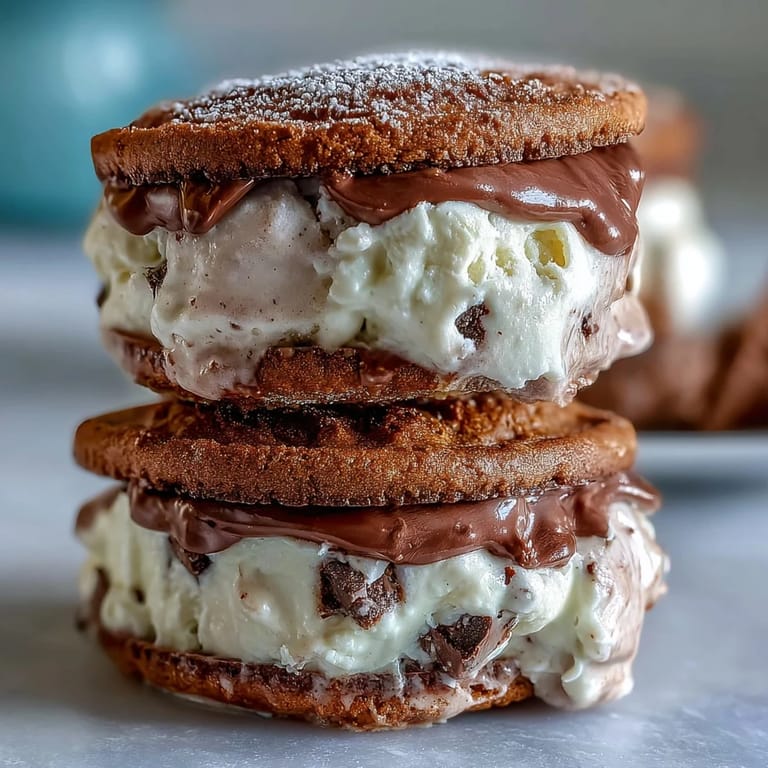
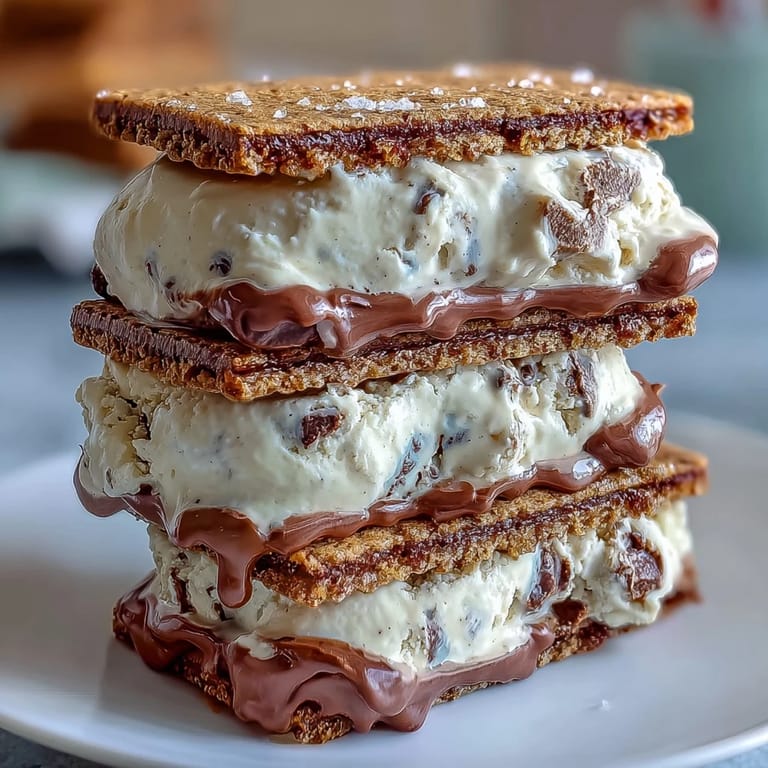
Save Last summer, I was standing in line at a coffee shop on the hottest day of the season, watching people order vanilla frappuccinos like they were going out of style. Something clicked—why not turn that beloved drink into something you could hold in your hand and actually eat? I went home that afternoon and started experimenting, and these ice cream sandwiches were born from that simple "what if" moment. The espresso cookies are rich and just slightly bitter, while the vanilla bean ice cream is pure, creamy luxury nestled between them. Every bite tastes like summer caught between two cookies.
I made these for a neighborhood potluck in August, and I watched people's faces light up when they bit into one—that moment when someone realizes dessert and coffee just became the same thing. My neighbor came back for thirds and asked for the recipe, which is always the ultimate compliment. That night, these sandwiches became the dessert everyone asked me to bring to every gathering after that.
Ingredients
- Unsalted butter (1 cup, softened): Room temperature butter creams better and gives the cookies that tender crumb; cold butter won't incorporate the air you need.
- Brown sugar and granulated sugar (1.5 cups combined): The brown sugar brings moisture and chewiness while granulated sugar helps them spread just enough.
- Large eggs (2): They bind everything and add richness, so don't skip them or substitute with egg replacer here.
- Vanilla extract (2 tsp): Use real vanilla, not imitation, because you can taste the difference when everything else is this simple.
- All-purpose flour (2.5 cups): Measure it correctly by spooning into a cup and leveling off, not packing it down.
- Unsweetened cocoa powder (1/2 cup): This adds depth without overwhelming the espresso flavor; Dutch-processed gives a more sophisticated taste.
- Instant espresso powder (2 tbsp): This is the soul of the cookie, so don't dilute it or skip it thinking coffee extract will work the same way.
- Baking soda and salt (1 tsp and 1/2 tsp): These balance the cocoa's bitterness and help the cookies spread evenly.
- Heavy cream (2 cups): The higher the fat content, the creamier your ice cream will be.
- Whole milk (1 cup): This adds body to the ice cream without making it icy.
- Granulated sugar for ice cream (3/4 cup): Don't reduce this or the ice cream won't scoop properly when frozen.
- Vanilla bean, split with seeds scraped (or vanilla bean paste 2 tsp): Real vanilla bean creates tiny dark specks that look beautiful and taste authentic; if using paste, you'll skip the heating step for the pod.
- Pinch of salt: Enhances the vanilla flavor and balances sweetness.
Tired of Takeout? 🥡
Get 10 meals you can make faster than delivery arrives. Seriously.
One email. No spam. Unsubscribe anytime.
Instructions
- Start the vanilla bean ice cream base:
- Combine milk, sugar, vanilla bean seeds and pod (or paste), and salt in a saucepan and warm it gently over medium heat until the sugar dissolves and steam rises—you're not trying to simmer it, just wake up the flavors. Once it's steaming, pull it off the heat, fish out the vanilla pod if you used a whole bean, and stir in the heavy cream.
- Chill the ice cream base thoroughly:
- This is non-negotiable: get that mixture into the fridge for at least two hours, preferably overnight. Cold ice cream base churns into something smooth and scoopable instead of grainy and icy.
- Churn and freeze the ice cream:
- Follow your ice cream maker's instructions, then spread the churned ice cream into a parchment-lined 9x13-inch pan about an inch thick and let it firm up in the freezer for at least two hours. If you don't have an ice cream maker, freeze the cold base in a shallow dish and stir it vigorously every thirty minutes until it's thick and creamy, which takes about four hours.
- Preheat and prepare for cookies:
- Get your oven to 350°F and line two baking sheets with parchment paper while you make the dough. This way everything's ready when you need it.
- Cream the butter and sugars:
- In a large bowl, beat softened butter with brown sugar and granulated sugar until the mixture is light, fluffy, and noticeably paler than when you started—this usually takes three to five minutes with an electric mixer. Don't rush this step because it's building the structure of your cookies.
- Add eggs and vanilla:
- Beat in the eggs one at a time, making sure the first one is fully incorporated before adding the second, then add the vanilla extract. The mixture should look smooth and slightly curdled, which is normal.
- Combine dry ingredients separately:
- In another bowl, whisk together flour, cocoa powder, espresso powder, baking soda, and salt until there are no lumps of espresso powder hiding in the flour. This ensures even flavor throughout every cookie.
- Bring wet and dry together:
- Gradually add the dry mixture to the wet mixture, stirring until just combined—overmixing develops gluten and makes tough cookies. Stop as soon as you don't see streaks of flour.
- Roll out and cut the cookies:
- Divide the dough in half and roll each half between two sheets of parchment paper to about a quarter inch thick, then use a 3-inch round cutter to cut out sixteen cookies total. If the dough gets warm and sticky, refrigerate it for fifteen minutes.
- Bake until set:
- Place cookies on your prepared sheets and bake for ten to twelve minutes—you're looking for the edges to be set and slightly firm while the centers still have a tiny bit of give. They'll continue cooking slightly as they cool, and you want them tender enough to hold ice cream without crumbling.
- Cool completely:
- Let the cookies cool all the way on a wire rack before assembly; warm cookies will melt your ice cream instantly.
- Cut ice cream to match cookies:
- Remove the frozen ice cream slab from the pan and use the same 3-inch cutter to cut out eight rounds. Work quickly or the ice cream will soften.
- Assemble with care:
- Place each ice cream round between two cookies, press gently so it holds, then wrap in parchment and freeze for at least an hour. This final freeze makes them sturdy enough to handle without falling apart.
 Save
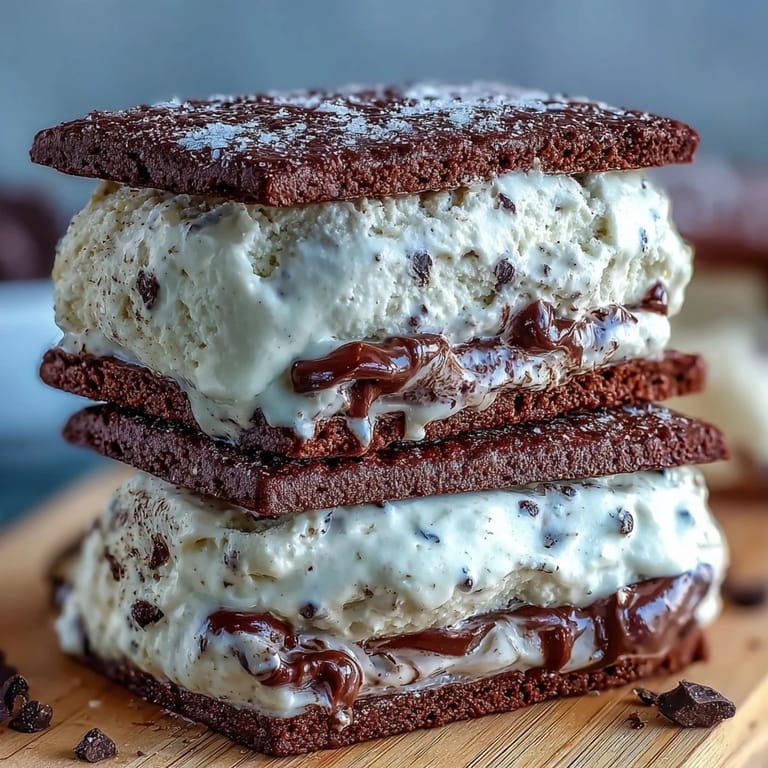
Save I'll never forget my friend Sarah taking a bite of one of these and actually closing her eyes, then saying quietly, "This is what summer tastes like." That's when I realized these weren't just ice cream sandwiches—they were a moment in time you could hold in your hand, a way to capture coffee shop nostalgia and make it yours. Every time someone enjoys one of these, I think about that afternoon I spent experimenting and how the simplest ideas sometimes turn into the best things.
Flavor Variations That Work
The beauty of this template is how flexible it is once you understand the base ratio. I've rolled the sandwich edges in crushed espresso beans, mini chocolate chips, or even finely chopped toasted almonds, and each time it adds something unexpected and delicious. You could also swap the vanilla ice cream for salted caramel, brown butter, or even a honey-lavender flavor, and the espresso cookies would still be the perfect partner. The cookies are forgiving enough that you can adjust the cocoa-to-espresso ratio depending on whether you prefer something more chocolate-forward or more coffee-forward.
Making Them Ahead and Storing
One of my favorite things about these is that they're actually better made a day or two ahead—the cookies soften just slightly from the moisture of the ice cream, creating this almost chewy texture that's better than when they're freshly made. You can keep them frozen in an airtight container with parchment between layers for up to two weeks, though honestly they rarely last that long around my house. If you're bringing them somewhere, wrap them individually in parchment, place them in a cooler with an ice pack, and they'll stay perfect for several hours.
The Secret Finishing Touches
The simplest upgrades make the biggest difference, and I've discovered a few tricks that turn good sandwiches into showstoppers. A light dusting of espresso powder or cocoa on top of the assembled sandwich looks elegant and hints at what's inside, while a thin drizzle of melted dark chocolate that sets into a shell adds that café-quality finish.
- Roll the ice cream edges in mini chocolate chips, crushed espresso beans, or toasted nuts right after assembly for textural contrast and visual appeal.
- Serve them with a small espresso shot on the side so people can dunk or sip alongside, turning them into a true coffee shop experience.
- Make extras and keep them in the freezer for when you need to impress someone or want an instant dessert that tastes completely homemade.
 Save
Save These sandwiches remind me that sometimes the best desserts are the ones that start with a question mark and a moment of curiosity in the kitchen. Make them, share them, and watch the same light appear in other people's eyes that I saw in Sarah's.
Recipe FAQs
- → How do I store the sandwiches?
Wrap each sandwich tightly in parchment paper and freeze in an airtight container to maintain freshness for up to a week.
- → Can I make the ice cream without an ice cream maker?
Yes, freeze the chilled ice cream mixture in a shallow dish and stir every 30 minutes until creamy and firm to mimic churning action.
- → What adds espresso flavor to the cookies?
Instant espresso powder mixed into the cocoa-flavored cookie dough provides a rich coffee depth without bitterness.
- → Are there alternatives to vanilla bean for the ice cream?
You can use vanilla bean paste or high-quality vanilla extract, though the bean seeds add a distinct aroma and speckled appearance.
- → How thick should the ice cream layer be?
Spread the churned ice cream about one inch thick in the pan before freezing to ensure perfect sandwich thickness and texture.
- → Can the cookies be made ahead of time?
Yes, bake and cool the espresso cookies in advance; store in an airtight container until ready to assemble the sandwiches.