 Save
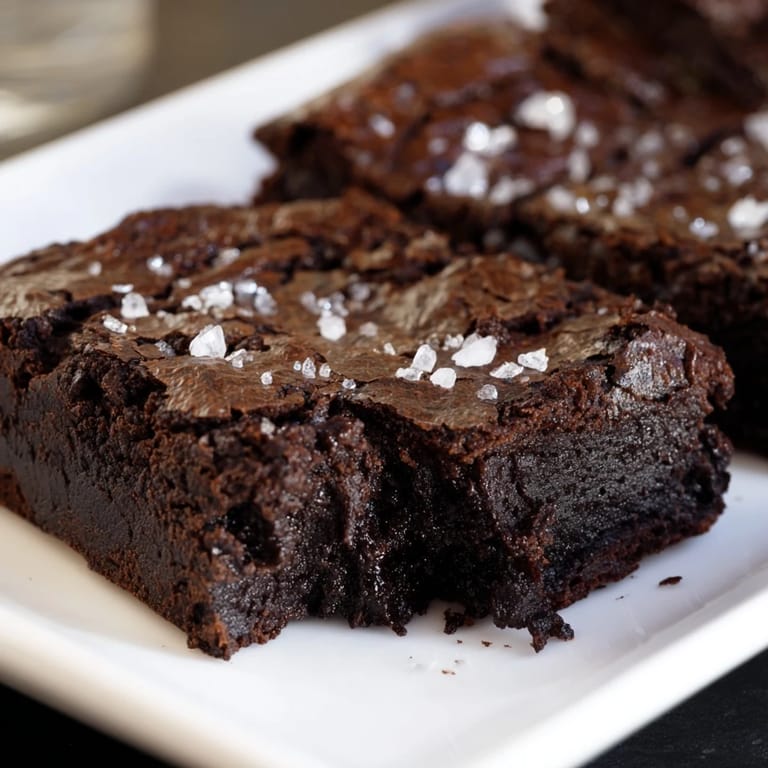
Save I was craving something intensely chocolatey one rainy afternoon, and these brownies happened almost by accident. The dark chocolate I had been saving for a special occasion was just sitting there, and I thought, why not now? The combination of that bittersweet richness with a pinch of flaky salt turned into something I make at least twice a month. It's become my go-to when I need chocolate therapy or when friends text asking what I'm bringing to dinner.
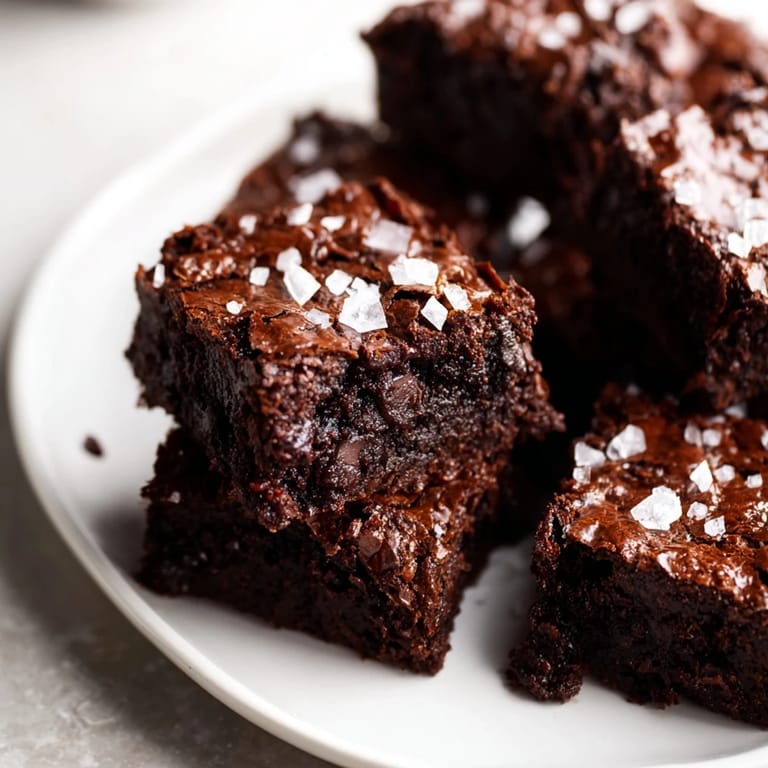
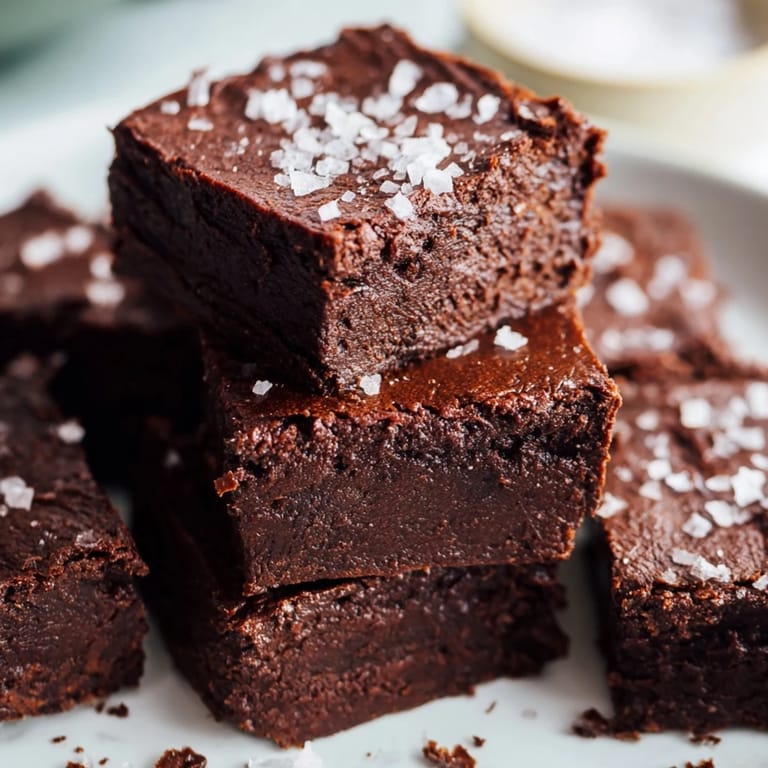
The first time I brought these to a potluck, someone asked if I had bought them from a bakery. I laughed because the kitchen had been a mess an hour earlier, and I was still licking chocolate off my fingers. There's something about the shiny, crackled top and that hint of salt that makes them look deceptively fancy. Now, every time I make them, I remember that compliment and feel a little proud.
Ingredients
- High-quality dark chocolate (70% cocoa): This is the star, so don't skimp. I've tried it with cheaper chocolate and the flavor just isn't as deep or smooth.
- Unsalted butter: It melts into the chocolate and adds richness. I always cut it into pieces so it melts evenly without clumping.
- Granulated sugar: Sweetens the batter and helps create that shiny top when you whisk it with the eggs.
- Light brown sugar: Adds a subtle caramel note and keeps the brownies moist for days.
- Eggs (room temperature): Cold eggs don't whisk up as fluffy, and the texture suffers. I leave mine on the counter for about 30 minutes.
- Pure vanilla extract: A little goes a long way in rounding out the chocolate flavor.
- All-purpose flour: Just enough to give structure without making them cakey.
- Unsweetened cocoa powder: Doubles down on the chocolate intensity. I always sift it to avoid lumps.
- Fine sea salt: Balances the sweetness in the batter itself.
- Flaky sea salt: The finishing touch that makes each bite a little surprising and keeps you reaching for more.
Tired of Takeout? 🥡
Get 10 meals you can make faster than delivery arrives. Seriously.
One email. No spam. Unsubscribe anytime.
Instructions
- Prep the Pan:
- Preheat your oven to 180°C (350°F) and line your pan with parchment paper, letting the edges hang over. This little trick means you can lift the whole slab out later without wrestling with a spatula.
- Melt the Chocolate:
- Set a heatproof bowl over simmering water and add the chopped chocolate and butter, stirring until they melt into a glossy pool. Let it cool for a few minutes so it doesn't scramble the eggs later.
- Whisk the Eggs and Sugar:
- In a large bowl, whisk the sugars, eggs, and vanilla together for 2 to 3 minutes until the mixture turns pale and thick. Your arm might get tired, but this step creates that beautiful crackly top.
- Combine Chocolate and Eggs:
- Pour the melted chocolate into the egg mixture and whisk until everything is silky and uniform. The batter will look luxurious at this point.
- Fold in the Dry Ingredients:
- Sift the flour, cocoa powder, and fine sea salt over the wet ingredients, then gently fold with a rubber spatula. Stop as soon as the streaks disappear because overmixing makes them tough instead of fudgy.
- Pour and Season:
- Spread the batter into your prepared pan, smoothing the top. Sprinkle the flaky sea salt evenly over the surface like you're adding tiny crystals of magic.
- Bake:
- Slide the pan into the oven and bake for 28 to 32 minutes. A toothpick should come out with a few moist crumbs clinging to it, not clean.
- Cool Completely:
- Let the brownies cool in the pan on a wire rack. I know it's hard to wait, but cutting them warm makes a gooey mess instead of clean squares.
 Save
Save I once made these for my sister's birthday, and she ate three in one sitting. She's usually picky about desserts, but the way the salt cut through the sweetness had her hooked. We ended up sitting on the kitchen counter, talking for hours with the pan between us. That's when I realized these brownies aren't just about the chocolate, they're about the moments that happen around them.
Storing and Serving
These brownies keep in an airtight container at room temperature for up to four days, though they rarely last that long in my house. If you want to serve them warm, a quick zap in the microwave for ten seconds brings back that just-baked softness. I love pairing them with vanilla ice cream, letting it melt into the warm chocolate like a little puddle of heaven.
Customizing Your Brownies
I've folded in dark chocolate chips for extra pockets of melty goodness, and walnuts when I want a little crunch. A friend of mine swirls in peanut butter before baking, and honestly, it's genius. You can also swap the all-purpose flour for a gluten-free blend if you need to, and no one will be able to tell the difference.
What to Watch For
The trickiest part is knowing when to pull them out of the oven. They'll look slightly underdone in the center, and that's exactly what you want. The residual heat finishes the job as they cool, so resist the urge to bake them longer.
- Use parchment paper with overhang so you can lift the whole block out cleanly.
- Let the melted chocolate cool a bit before adding it to the eggs to avoid cooking them.
- Cut them with a sharp knife wiped clean between slices for neat edges.
 Save
Save These brownies have become my love language in chocolate form. I hope they bring you as much joy as they've brought me, whether you're sharing them or keeping the whole batch to yourself.
Recipe FAQs
- → What type of chocolate works best?
High-quality dark chocolate with about 70% cocoa content offers the richest flavor and smooth texture.
- → Can I substitute the sea salt topping?
Flaky sea salt is recommended for its texture and flavor contrast, but fine kosher salt can be a gentle substitute.
- → How do I prevent the brownies from overbaking?
Check with a toothpick at 28 minutes; it should come out with moist crumbs to keep the center fudgy.
- → Are these brownies suitable for vegetarians?
Yes, the ingredients used are vegetarian-friendly, including eggs and dairy butter.
- → Can I add nuts or chips to the batter?
Yes, folding in chopped walnuts or dark chocolate chips before baking adds texture and richness.